How to create a physical item on your Wiseband account?
Wiseband allows you to sell your music, your merchandising all kinds of products directly to your fans via the creation of online stores that can be inserted on your website and your Facebook.
Before you can set up your e-store, you must first create the products you want to sell. This tutorial explains how to create physical items on your Wiseband account (for more explanations on how to create digital items see the tutorial Creating a digital item on your Wiseband account).
A. Selection of product type
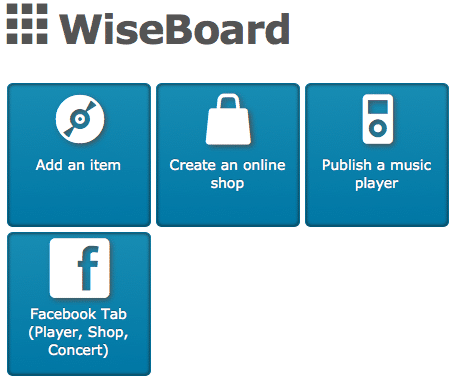
Log in to your Wiseband account. You will arrive directly on your WiseBoard.
Click on ” Add a product “.
A new page will appear and you can choose the type of product you want to add. Let’s take as an example the creation of an item corresponding to a t-shirt: Kjøp Canada Goose Parker click on “Merch“.

On the next page you can see the different types of merchandise you can create: clothing, accessories and print.
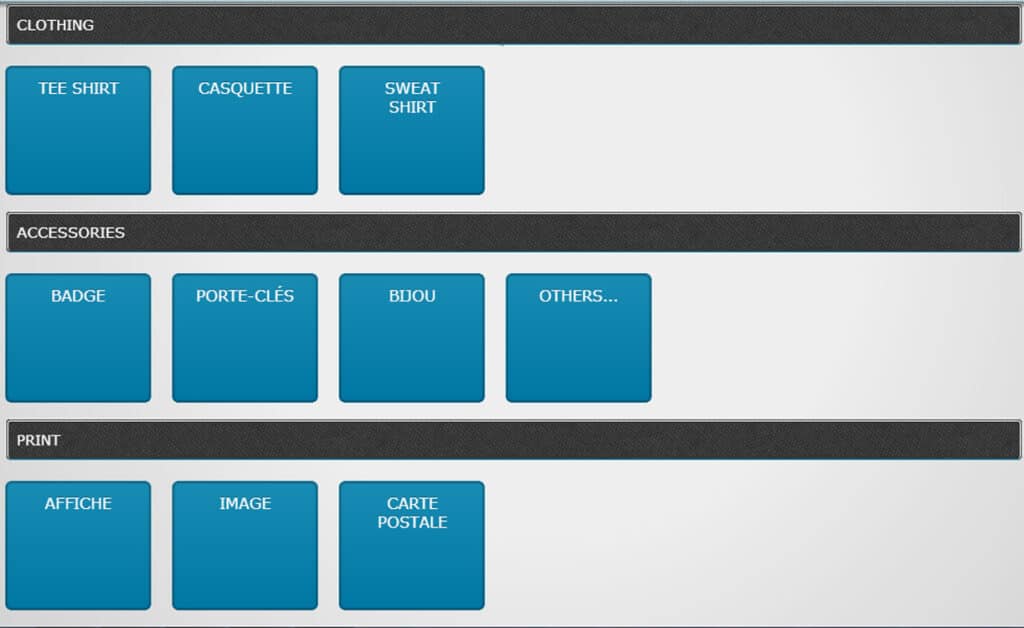
Click on the box of the product you wish to create. You will then be taken to the page with the characteristics of your item.
B. Product features

Here you can indicate the name of your product, insert a visual by clicking on the frame on the left, set your price. The default price is 15 €, you can change it by entering directly the price you want. By selecting the box “Free price” you allow your buyers to set the amount they want to buy your item. For a garment (T-shirt, cap, sweatshirt…) you can add a model, for example, create several sizes of the same T-shirt.
To refine the characteristics of your item, click on “+ Options“.
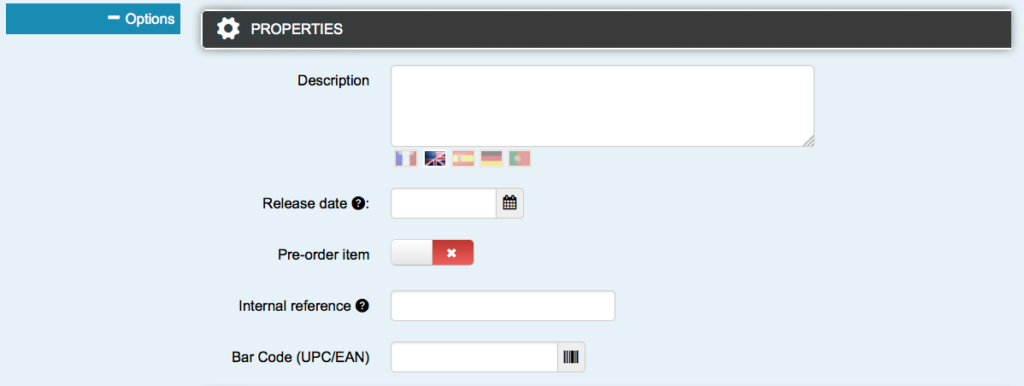
You will be able to describe the product in the “Description” box, which is what your fan will see when he inquires about the product, you can indicate its release and pre-order date if you decide to use this system.
Under the heading “Stocks” you have two options. If you don’t select “stock management”, you can mark your item as available (or not), no specific details will appear on the available stock, just the mention “Available” or “Unavailable“.

If you choose the “Stock Management” option, you will be able to indicate the exact quantity of stock available. This quantity is to be indicated directly in the stock column of your “Catalog” page once the item is created and saved.
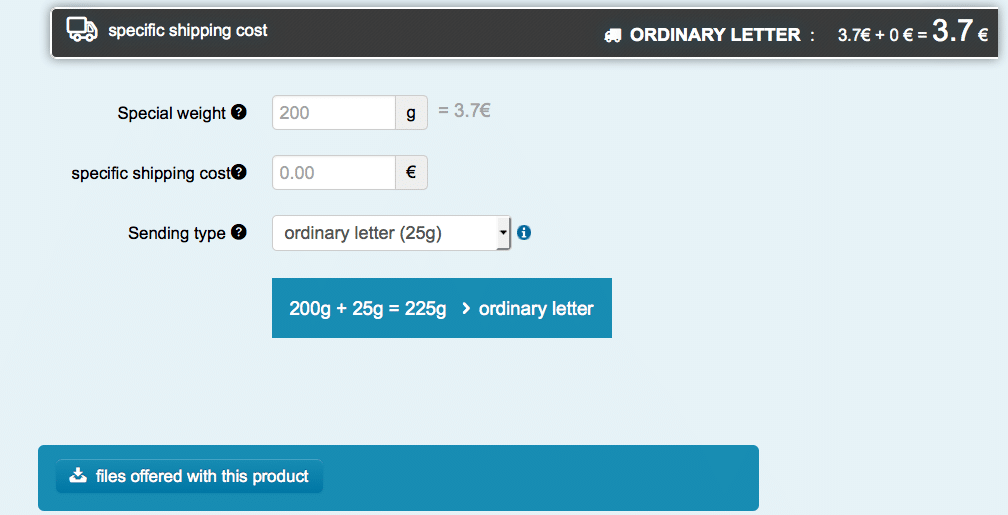
You can finally, in these options, inform the specifics on the sending of your article to the buyers. Indicate the weight of the product, the amount of the additional expenses if there is some and the type of sending. You have the choice between Colissimo, simple mail and letter max/postexport.
You can also decide to make files (audio, video, image) available for download to your fans in exchange for the purchase of the product. If you click on “files offered with this product” a new window will open and you can choose the files or upload the files you want to attach (press Ctrl or Cmd to select several).
C. Validate the creation of an article
Before registering your item, check your data.
Once the item is registered, you can find it in the list of your created items by going to the “Products/Catalog” page of your Wiseband account. The main information is visible there. You can modify this item at any time, either by clicking on the wording you wish to modify in your list, or by clicking on “Modify” in the “Actions” drop-down menu.
Make your own CDs, Vinyls, T-shirts, Sweatshirts, Posters, Flyers & original products in a few clicks with the Wiseband manufacturing service on : merch.wiseband.com.